
Architect Portfolio Binder
A premium screw post binding portfolio designed for architects to professionally showcase and organize printed CAD drawings and design presentations.
for artist, designer, architect, and profesional business presentation.
On Sale in Etsy Shop
A premium screw post binding portfolio designed for architects to professionally showcase and organize printed CAD drawings and design presentations.
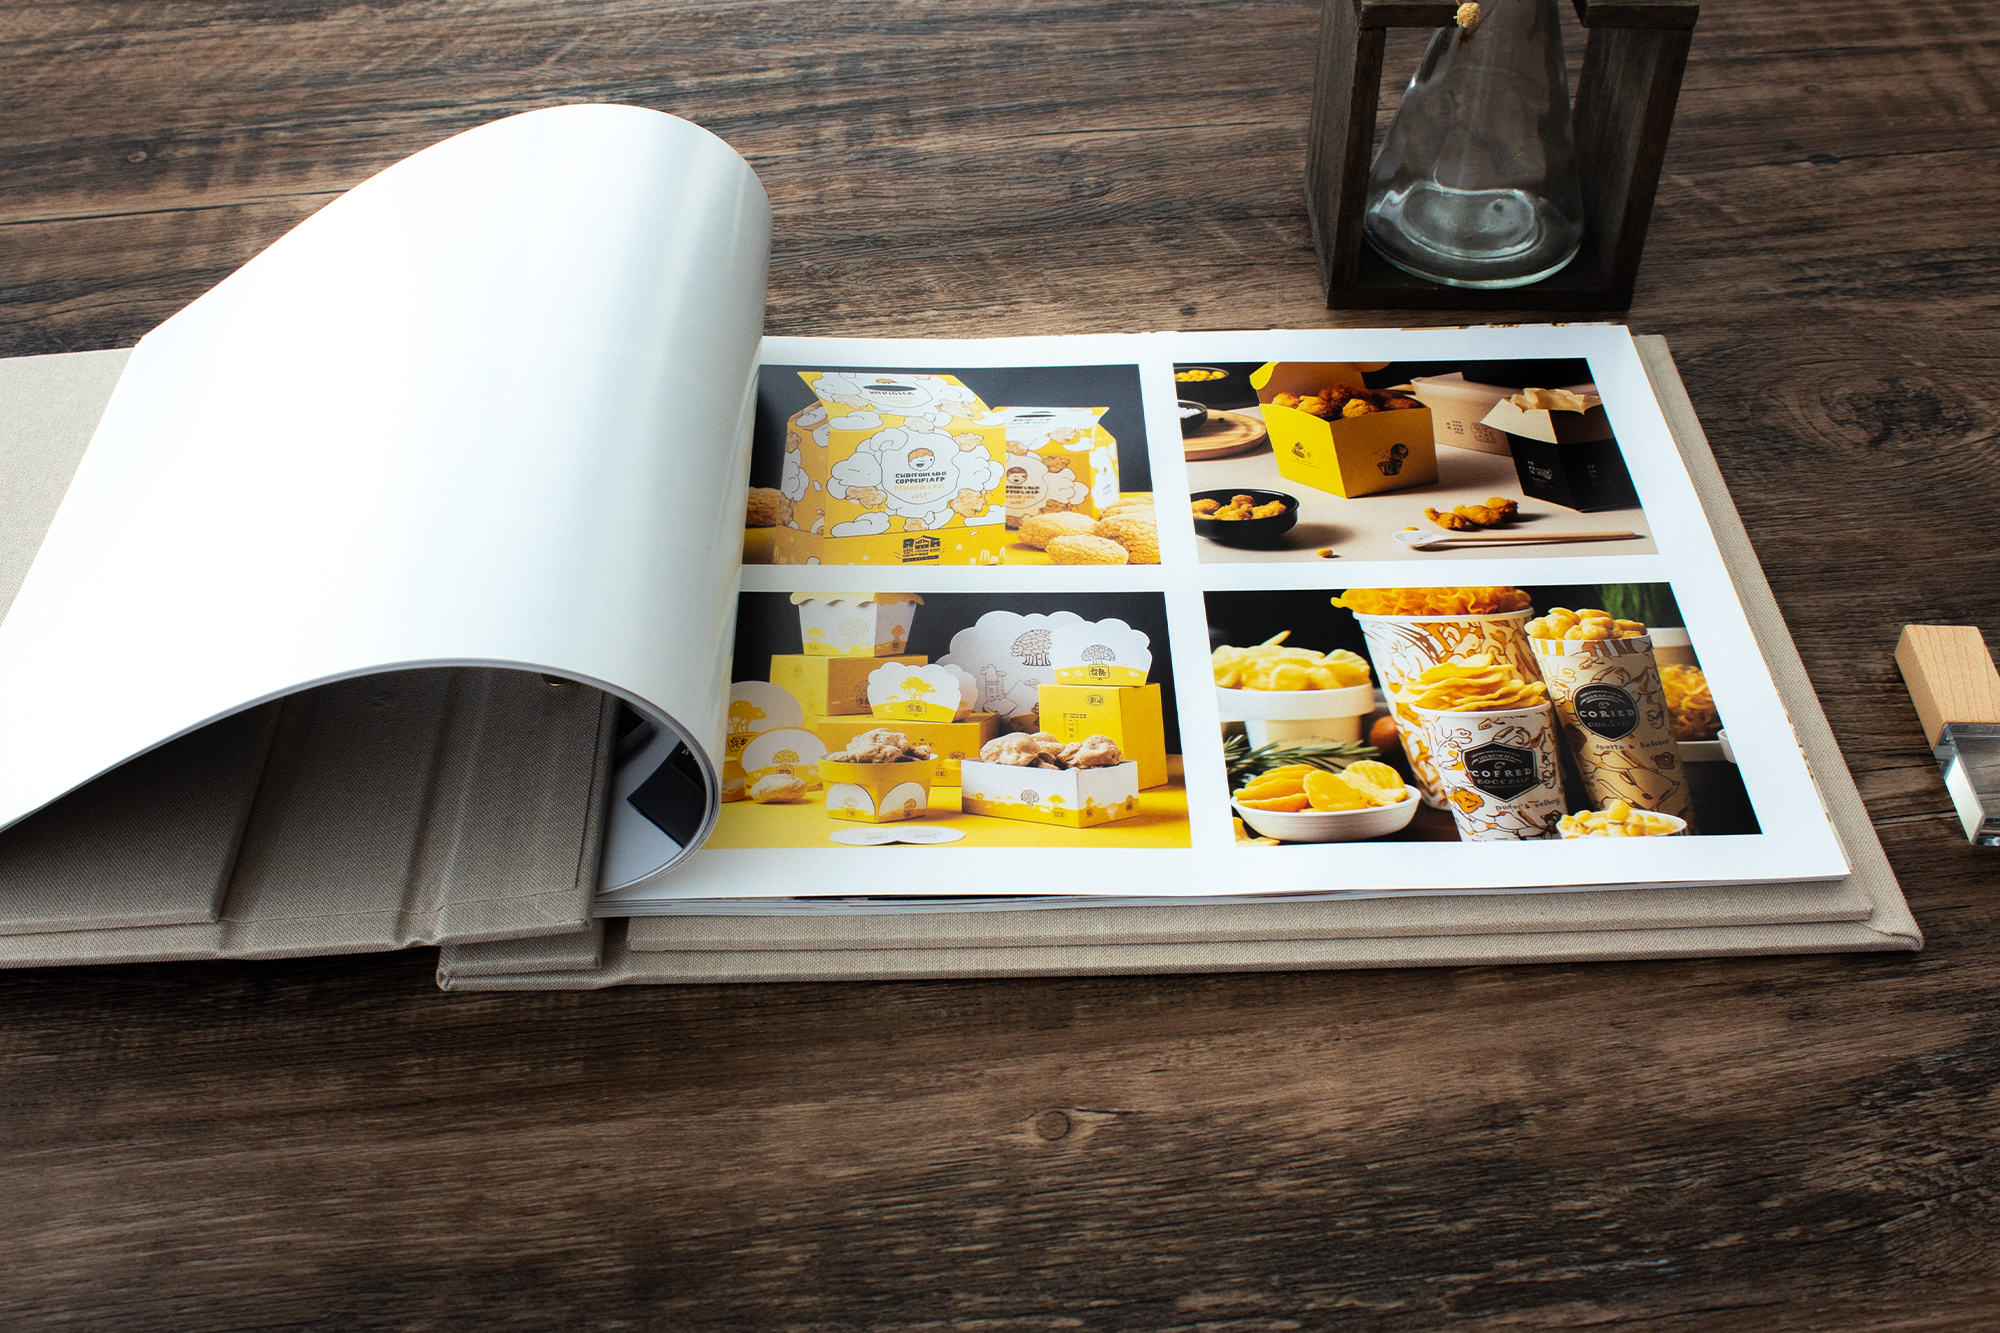
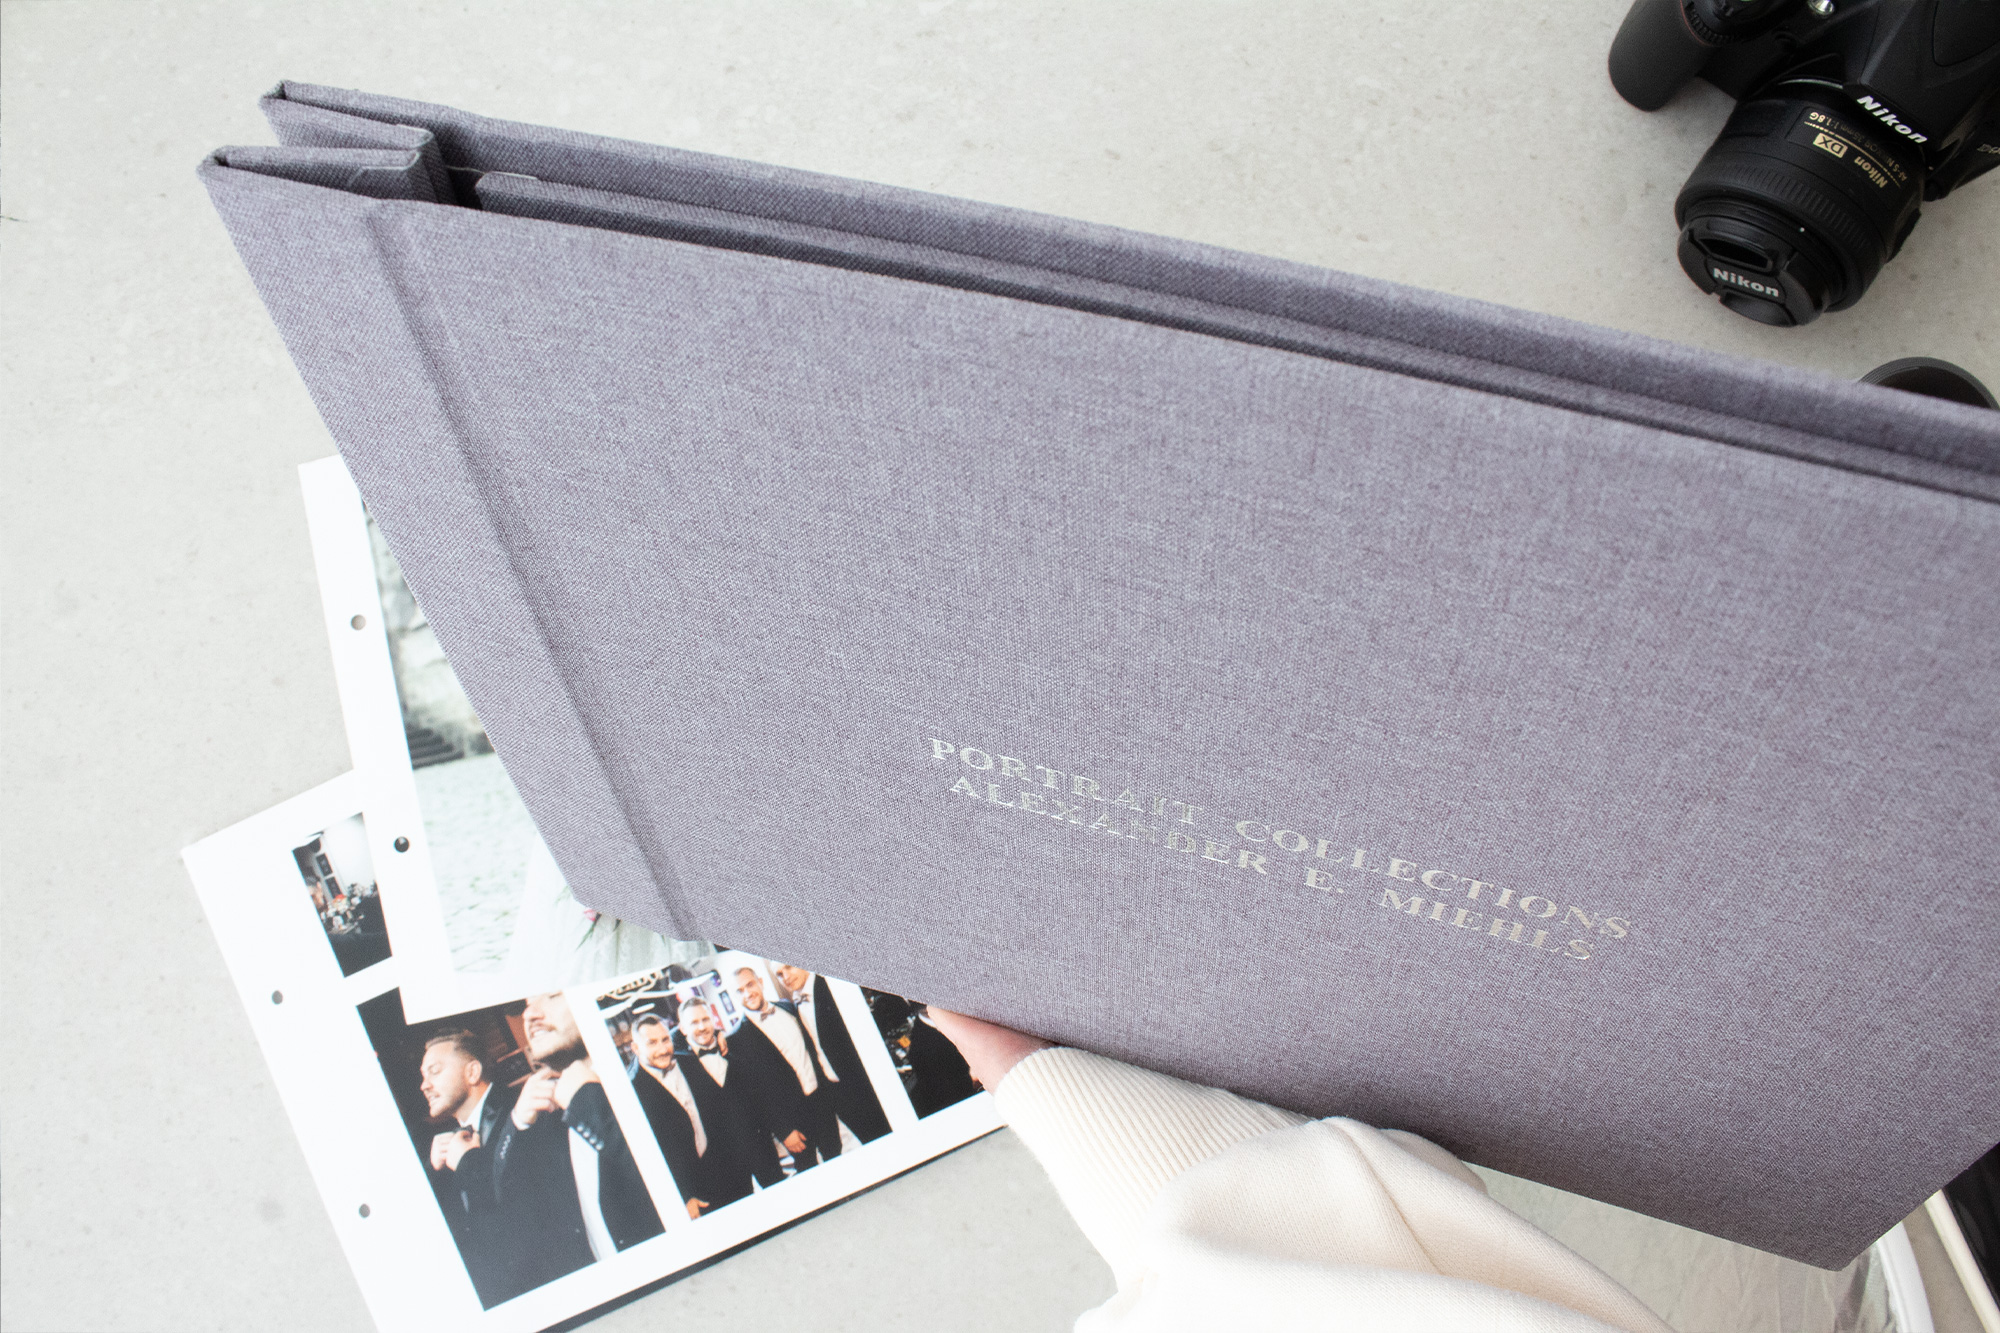
A stylish binder crafted for graphic design projects, sketches, and illustrations— featuring brass screw post binding perfect for academic and professional submissions.
A high-quality binder designed to organize and display artwork — ideal for storing sketches, watercolors, and prints with a professional finish.
Our portfolio folders and binders are crafted from high-quality, durable materials including premium flax and cotton linen blend, heavy-duty cardstock, and brass screw post to ensure longevity and professional presentation.
Screw post binders feature metal posts and screw head, that securely hold your documents together, allowing easy addition or removal of pages. They provide a professional, customizable, and durable solution ideal for portfolios, presentations, and archival purposes.
Yes! We offer personalized options including custom sizes, colors, embossing, and material choices to create a unique portfolio folder tailored to your needs. Please contact us for custom orders.
We made various sizes inclusive of US Letter- 8.5x11in, A4- 8.27x11.69in, A3-11.7x16.5in, A3 11x17, 9x12, 12x12, 12x18
Absolutely. We design several binder sizes to accommodate large-format prints, sketches, and architectural drawings, including standard 11x17 and A3 sizes to 12x18, ensuring your work stays safe and organized.
To keep your portfolio folder looking pristine, avoid prolonged exposure to moisture and direct sunlight. Clean with a soft, dry cloth and store it in a cool, dry place when not in use.
Yes, we provide special pricing for bulk orders and wholesale inquiries. Please contact us directly for quotes and availability by email: sale@flipchap.com.
Typically, our handmade portfolio folders take 3-5 business days to craft and quality-check. Shipping times vary by location but usually take 3-5 business days within the US, Canada, Europe & Asia Pacific.
Yes, we offer embossing and debossing services for custom logos, names, or designs to make your portfolio binder truly unique and professional. Contact us by email at sale@flipchap.com or Etsy messanging for more details.
Limited time Sale in Our
ETSY Shop